
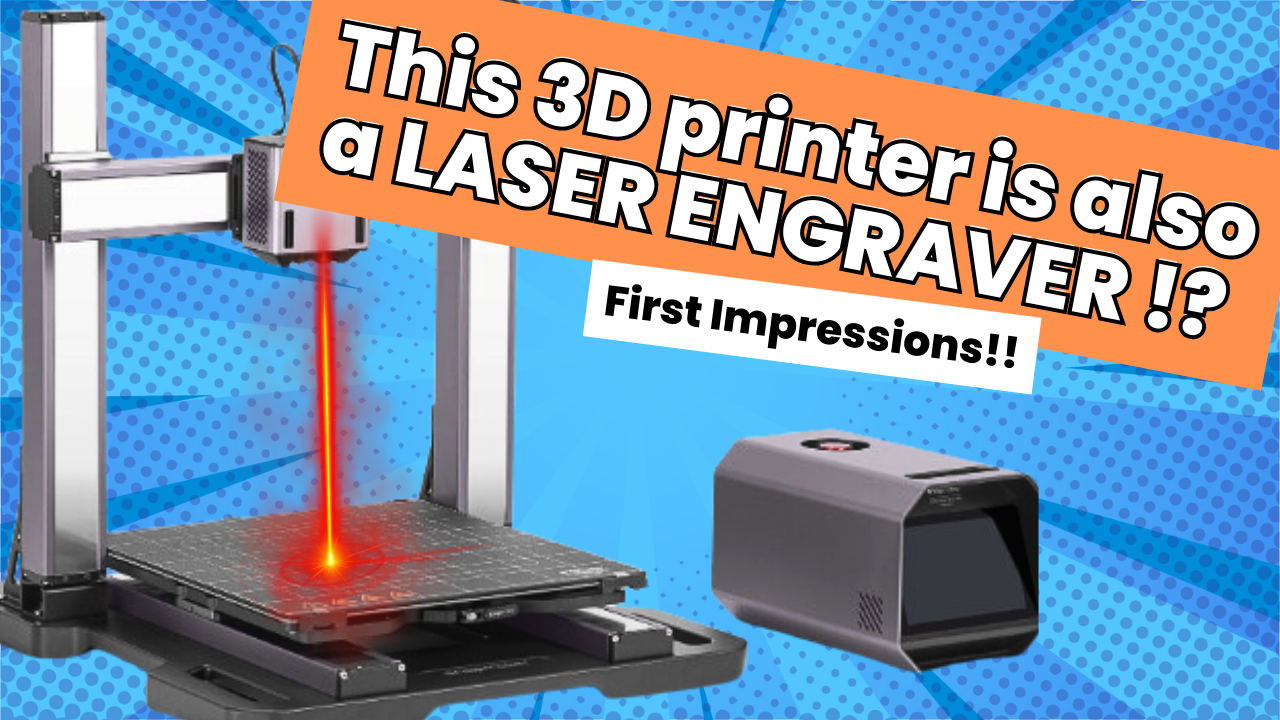
When it comes to desktop fabrication machines, few tools are as versatile as the Snapmaker Artisan laser engraver. This powerhouse combines a 3D printer, CNC machine, and laser engraver into one sleek, enclosed system.
In today’s test, I’ll walk through my first experience with the Artisan’s 40W laser engraving module, including setup, calibration, material support, and how it compares to earlier Snapmaker models I’ve used.
Check out the video review here
What Makes the Snapmaker Artisan Different?
I’ve owned earlier Snapmaker machines, and while they were impressive, swapping between modules wasn’t exactly fun. Each toolhead was held in place with multiple screws, which meant switching from 3D printing to laser engraving to CNC was a chore.
The Artisan changes that. All modules now use a quick-change system, which makes switching as simple as sliding one out and locking in another. That alone makes me more likely to take advantage of all three functions instead of leaving one module unused.
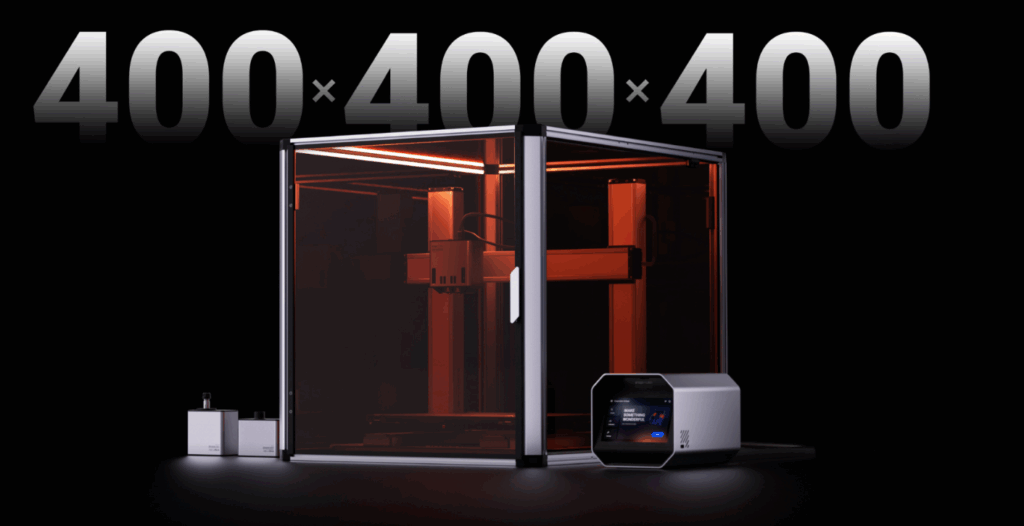
The Artisan also comes with a massive enclosure, fully lit, well-sealed, and equipped with a powerful exhaust system. For comparison, the ventilation fan is almost comically large compared to a standard 3D printer part-cooling fan, which means smoke and fumes are handled much more effectively.
Setting Up the Laser Engraver
The laser engraving module itself took a few minutes to figure out the first time, but once I understood the calibration process, it was straightforward:
- Load your design file into Luban (Snapmaker’s software).
- Confirm material thickness.
- Set the origin point.
- Hit start.
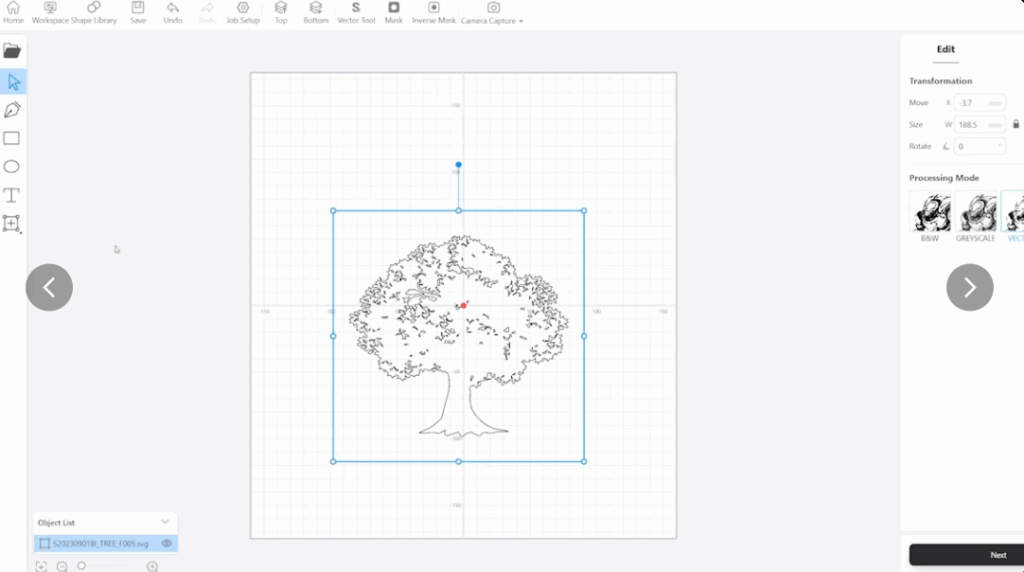
For this test, I used the included sample engraving file to keep things simple. Even with smoke buildup visible in the enclosure during the cut, the ventilation system performed flawlessly, no smoke alarms, no issues.
Cutting and Engraving Results
The first run took just four minutes and sliced cleanly through a piece of basswood, leaving behind sharp engravings and smooth cuts. Even though I set my origin slightly off, the quality was excellent.
What impressed me most was how powerful yet precise the module felt. The Artisan handled engraving with ease, and the cut went through the basswood “like butter.”
Supported Materials for Laser Engraving & Cutting
The Snapmaker Artisan laser module supports a wide variety of materials for both engraving and cutting, including:
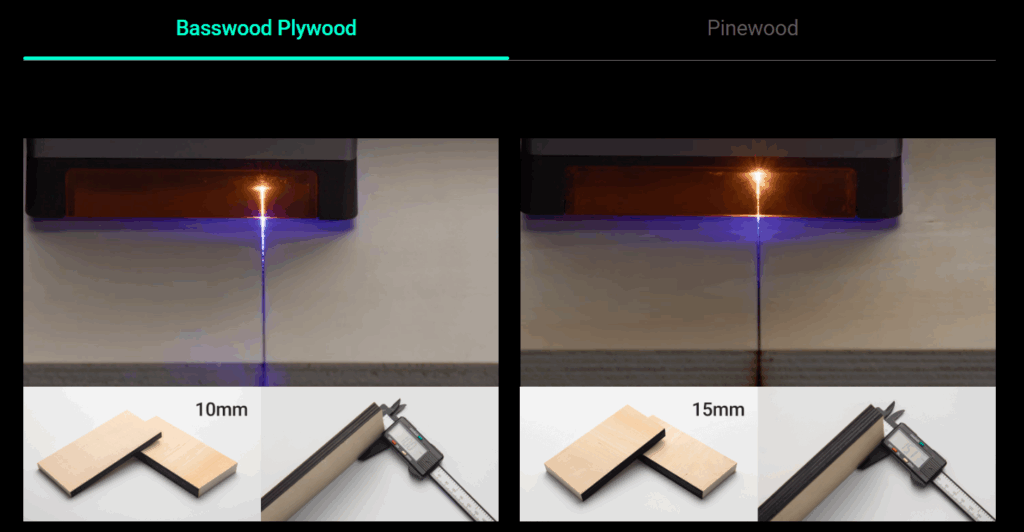
- Engraving: wood, leather, fabric, acrylic, anodized aluminum, slate, and more
- Cutting: basswood, plywood, cardboard, fabric, and select plastics
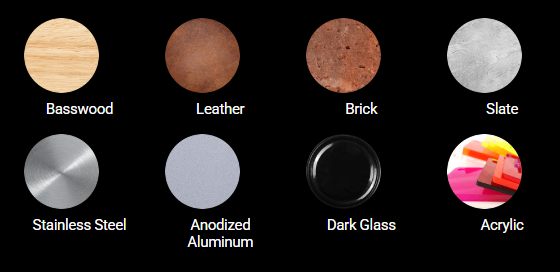
This versatility makes it a strong choice for creators who want one machine for multiple creative applications.
Final Thoughts: First Impressions of the Artisan’s Laser Engraver
Overall, my first impressions of the Snapmaker Artisan laser engraver are extremely positive. The setup is straightforward, the ventilation system handles smoke like a champ, and the quick-change system finally makes swapping modules effortless.
If you’re looking for an all-in-one machine that doesn’t compromise on laser power, the Artisan is worth considering.
What Should I Engrave Next?
This was just a starter test, but now that the laser module is dialed in, I want to push the limits. What should I try engraving next? Glass, metal, or maybe something wild like a skateboard deck? Let me know in the comments and check out more blogs below!
Affiliate Disclaimer: This blog contains affiliate links. If you click through and make a purchase, I may earn a small commission at no additional cost to you. I only recommend products I personally use and believe add value.