
Topic: How to fix lava lamp
Estimated time: 2–4 hours (includes cooling/melting wait time)
Skill level: Beginner–Intermediate
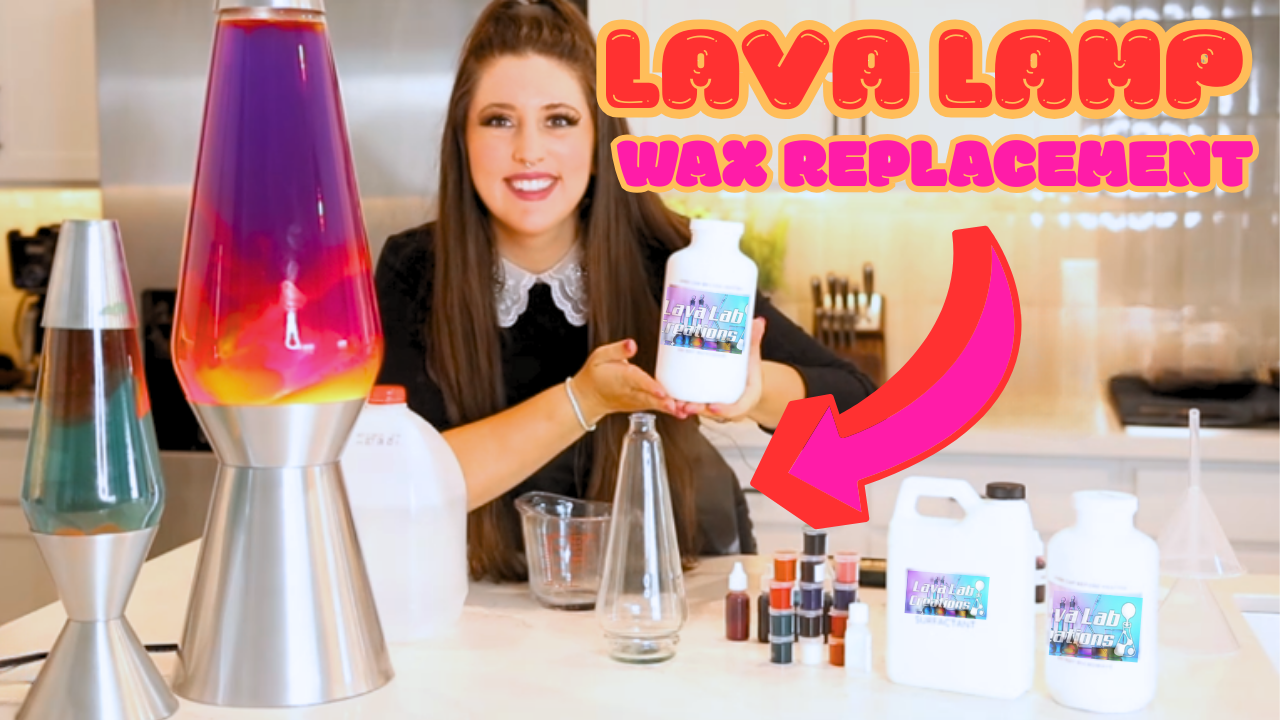
Sponsored by: Lava Lab Creations
Why (and When) to Replace Your Lava Lamp’s Internals
If your lava lamp looks cloudy, won’t flow, stays stuck at the top/bottom, or just isn’t the vibe anymore, a full refresh of the wax, fluid, and coil can bring it back to life. This guide walks you through the entire process, from safe disassembly to final tuning, using supplies from Lava Lab Creations.
How it works (super short): Lava lamp “lava” (wax) rises and falls as it heats/cools and changes density relative to the surrounding liquid. Getting the right wax type and liquid composition is crucial for proper flow.
Table of Contents
- Safety Warnings (Please Read!)
- Tools & Supplies
- Step‑by‑Step: Full Rebuild
- 1) Power Down & Cool
- 2) Remove Cap(s)
- 3) Drain the Liquid
- 4) Melt & Remove Old Wax
- 5) Remove & Clean the Coil
- 6) Deep‑Clean the Globe
- 7) Choose the Correct Wax
- 8) Melt New Wax (Double‑Boiler)
- 9) Prep Globe with Surfactant
- 10) Measure & Tint the Wax
- 11) Pour Wax & Reinsert Coil
- 12) Degas & Solidify
- 13) Add Distilled Water & Dye
- 14) Reseal the Cap
- 15) Warm Up & Tune Flow
- Troubleshooting
- FAQs
- Supplies & Helpful Links
Safety Warnings (Please Read!)
- Unplug & cool fully before you begin.
- Always remove the inner cap before heating the globe. A sealed globe can build pressure and explode, causing severe injury or worse.
- Do NOT microwave wax. Use a gentle double‑boiler (simmering water bath).
- Hot glass is slippery: wear thermal gloves/grippy heat‑resistant gloves when handling.
- Never pour wax down a drain. It will resolidify and clog plumbing, collect it in a container for reuse or trash.
- Avoid thermal shock: don’t put a hot/cold globe in the freezer/fridge or under cold water.
- Work on a stable, heat‑safe surface with good ventilation.
Tools & Supplies
From Lava Lab Creations:
- Wax for your lamp size: standard 20–52 oz, Grande, or Tower formulations.
- Surfactant (for coating the globe)
- Magic Surf (for tuning flow later; different product from the Surfactant!)
- Water dyes (designed for lava lamps; won’t mix into wax)
- Replacement coil/spring (various sizes)
- Replacement bottle caps and optional capping tools.
Household/General:
- Distilled water
- Large pot (for double‑boiler)
- Funnel
- Heat‑safe measuring cup (with volume markings)
- Bottle brush, dish soap (e.g., Dawn), paper towels
- Long forceps/tongs or a skewer to retrieve coil (optional)
- Thermal gloves/oven mitts with grip
Step‑by‑Step: Full Rebuild
1) Power Down & Cool
- Unplug the lamp and let it cool completely.
- Remove the globe from its base.
2) Remove Cap(s)
- Take off the outer cap.
- Inside you’ll likely find a bottle‑style inner cap (sometimes cork/metal). Remove it.
- If it’s in good shape, save for later. If damaged, plan to replace it (see caps here).
3) Drain the Liquid
- Carefully pour the globe’s liquid into a container. Save it for future experiments or dispose of it safely.
- The wax should remain solid at the bottom and not pour out with the liquid.
4) Melt & Remove Old Wax
- Set up a double‑boiler: add a shallow layer of water to a pot and bring to a gentle simmer.
- Confirm the inner cap is removed! Place the globe in the pot.
- After ~10 minutes, the wax will fully melt.
- Wearing thermal gloves, pour melted wax into a dedicated container. Do not pour down a drain.
- If a small chunk remains, return the globe to the simmer until fully melted, then pour again.
5) Remove & Clean the Coil
- While the globe is empty, invert and gently remove the coil/spring using forceps or a skewer.
- Give it a quick scrub and set aside.
- If your lamp has no coil, you can grab one here!.
6) Deep‑Clean the Globe
- Rinse the globe with hot water to loosen remaining wax bits.
- Paper‑towel trick: Roll a paper towel, insert like a “wick,” twist, and pull; the tiny wax bits will cling to it.
- Wash with globe cleaner or Dawn + bottle brush.
- Repeat until the glass looks crystal clear. Let it air‑dry.
7) Choose the Correct Wax
- Pick wax that matches your globe size: 20–52 oz (most common)
- Using the wrong formulation can cause poor flow (too heavy/light).
- If in doubt, check the size on the product page or ask Lava Lab Creations.
8) Melt New Wax (Double‑Boiler)
- Place the bottle of wax in the simmering pot with the cap removed.
- Yes, the plastic bottle is designed for this; it won’t melt at simmer temps.
- Be patient, fully melt so everything blends uniformly. This takes about 30 minutes give or take.
9) Prep Globe with Surfactant
- Add 1 ml surfactant + 1 ml distilled water to the clean globe.
- Swirl (don’t shake) to coat all interior surfaces.
- Dump any excess.
- Important: Use Surfactant. Magic Surf is only for fine‑tuning flow later.
10) Measure & Tint the Wax
- For a 20 oz / 14.5″ lamp, measure ~150 ml of melted wax into a heat‑safe cup. (Slightly overpour to account for transfer loss if you like a fuller look.)
- Add wax dye a little at a time; it goes a long way.
- Color test: Hold the cup up to light; if it looks right there, it will look right in the lamp.
- If the dye wont melt in, set the cup back on the warm pot briefly and stir.
11) Pour Wax & Reinsert Coil
- Insert a funnel into the globe.
- Pour deliberately and continuously, too slow can create drips on the glass.
- Immediately drop the cleaned coil back in while the wax is still hot.
12) Degas & Solidify
- Place the globe (with fresh wax) back in the simmering bath briefly to help release air bubbles.
- Remove and set on a heat‑safe surface.
- Let the wax fully solidify at the bottom, usually 1–3 hours, depending on room temperature and lamp size.
- Do not add liquid yet. Do not chill the globe in a fridge or freezer to speed it up.
13) Add Distilled Water & Dye
- Using the funnel, fill with distilled water, leave ~2 inches of headspace at the top for thermal expansion.
- Add water dye drop‑by‑drop to taste; these dyes won’t mix with the wax. Swirl gently to distribute.
14) Reseal the Cap
- Reuse a good bottle cap or install a replacement cap.
- For a tight fit, you can use hose clamps as a makeshift capping tool; a dedicated capper provides the most consistent result.
- Note: Makeshift methods may not be perfectly watertight, but are typically sufficient for normal operation.
15) Warm Up & Tune Flow
- Place the globe on the base and run the lamp. Initial flow should look good.
- If you want more activity, add Magic Surf in very small increments (per product guidance), allowing time between adjustments.
Troubleshooting
- Wax sticks to glass: Increase cleaning thoroughness; ensure the surfactant coat reached all surfaces. Run the lamp through a few heat cycles.
- No/weak flow: Wrong wax for size, too little heat (weak bulb), or too much surfactant. Verify bulb wattage and lamp size formulation.
- Cloudy liquid: Contamination or residue, drain, reclean thoroughly, and refill with fresh distilled water.
- Big blobs staying at top: Overheating or imbalance in liquid/wax ratio; allow lamp to cool, then re‑evaluate dye/surfactant levels.
- Micro‑bubbles in wax: Re‑warm the globe gently to release trapped air.
FAQs
What’s the difference between Surfactant and Magic Surf?
Surfactant is used to pre‑coat the glass so wax doesn’t stick. Magic Surf is for tuning flow after the rebuild. Don’t swap them.
Why distilled water?
Minerals and impurities in tap water can cause haze and flow problems. Distilled water keeps the system clean and predictable.
How much wax do I need?
Follow the sizing guide on the Lava Lab Creations product page. As a rule of thumb: ~150 ml for a 20 oz/14.5″ globe.
Can I reuse my old coil?
Yes, if it’s in good shape (it almost always is!) Otherwise, replace it for the most reliable flow.
Can I microwave the wax?
No. It can heat unevenly and separate components. Use a gentle double‑boiler.
How do I dispose of old wax?
Let it cool and harden in a disposable container and trash it. Never pour down drains.
Lava lamps are amazing pieces to enjoy for years to come. Lava lab creations has all the supplies needed to when you’re wondering how to fix lava lamp s! Check them our here, or check out more blogs below!