
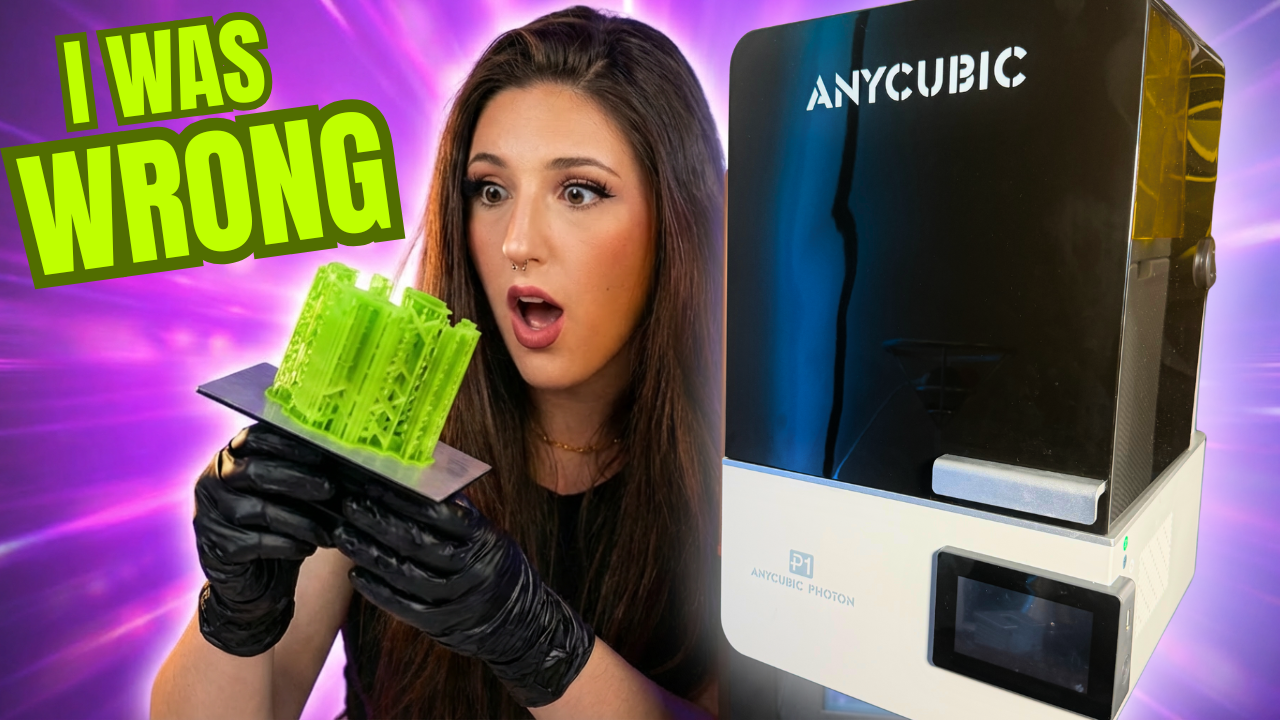
I avoided resin 3D printing for years. The mess, the smell, the safety concerns it all seemed too intimidating. But the Anycubic Photon P1 completely changed my perspective on resin printing, and I’m here to tell you why this prosumer resin 3D printer might be the game-changer you’ve been waiting for.
First Impressions: Unboxing and Setup
When Anycubic sent me the Photon P1 for testing, I braced myself for hours of assembly and calibration. Instead, I was pleasantly surprised by the plug-and-play experience. The printer arrived perfectly packaged with the factory pre-leveling still intact, no adjustments needed for my first print.
What’s Included in the Base Package,
The base model comes with everything you need to start printing:
- The Photon P1 printer
- Milled steel build plate (resistant to warping)
- User manuals and tools
- Scrapers and PPE equipment
- USB stick with test files
The milled steel build plate is a thoughtful upgrade over traditional aluminum plates, especially important given this printer’s large build volume.
Size and Placement Considerations
The Photon P1 has a footprint of 325mm x 350mm x 525mm (12.8″ x 13.8″ x 20.7″), making it comparable in size to most FDM printers. One design feature to note: the cover flips backward, requiring additional clearance behind the unit.
The Air Purifier 2.0: My Favorite Add-On
Fumes were one of my biggest concerns about resin printing. The Air Purifier 2.0 ($39) addresses this directly by plugging into the back of the printer and actively removing fumes from your printing environment.
After running the printer for weeks without it, then adding the air purifier, I noticed a significant difference. While you should still use proper PPE and maintain ventilation, this add-on makes the resin printing experience much more pleasant for just $39.
Technical Features That Actually Matter
Anycubic markets the P1 as a prosumer machine, but don’t let that intimidate you. Many of the “professional” features actually make this printer perfect for beginners.
The 14K LCD Screen Decision
At first glance, I was disappointed they didn’t opt for a 16K screen. However, the 14K LCD is actually the sweet spot, most resins can’t take full advantage of 16K resolution anyway, and those higher-resolution screens burn out faster. This is a case where “good enough” is actually better for longevity.
Key Features for Print Quality
- Textured film between LCD and VAT reduces peel force by up to 60%, meaning better adhesion and fewer failed prints
- Industrial-grade ball screw on the Z-axis maintains consistent quality from print 1 to print 1,000
- Built-in camera for live monitoring and time-lapses
- Easy-to-use clamps for quick build plate and VAT changes
Leveling Made Simple
The P1 features automatic leveling detection across four sensors. When adjustment is needed, you simply use the included Allen keys the entire process takes seconds. Whether you call this “automatic” or “assisted,” it’s incredibly user-friendly.
The Heated VAT: A Cold-Weather Game Changer
The heated VAT can reach 40°C (104°F), making this an excellent option for garage or shed printing in colder climates. During my stress test, I opened a window to let in 45°F air, and the VAT temperature never dropped. This feature expands where you can safely operate this printer.
My First Resin Print: Easier Than Expected
For my inaugural print, I used Anycubic’s standard water-wash resin and ran a simple exposure test. After pulling my first print off the plate, I felt silly for convincing myself that resin printing would be intimidating. This was truly plug-and-play.
The Detail Difference is Staggering
I always knew resin printing delivered cleaner details, but seeing it in person is different. The layer lines are nearly imperceptible, and the surface quality is exceptional.
Real-World Testing: Custom Keycaps Revisited
For a practical test, I revisited my abandoned custom keycap project something I’d given up on with FDM because I couldn’t achieve the detail I wanted. The difference is not even comparable. The resin-printed keycaps looked professional enough that you wouldn’t guess they were 3D printed if you hadn’t watched me make them.
Pushing the Limits: High-Viscosity Resins
Anycubic challenged me to test the P1’s capabilities with exotic resins, those thick, professional-grade materials with viscosities up to 8,000 CPS. Despite my nervousness about the specific parameters required, everything worked perfectly on the first try.
The Perforated Steel Build Plate
For these thicker resins, the optional perforated steel build plate reduces downward force, making high-viscosity resin printing more reliable. While most hobbyists won’t need this daily, having the capability means the printer can grow with your skills and project requirements.
The Controversial Dual Material Kit
The dual material kit allows you to print two completely different files with two different resin profiles simultaneously. It’s not included in the base kit, and people seem to either love or hate the concept.
The use case is admittedly niche, but if you frequently switch between resin types and print smaller models, this could save both time and materials. Note that unlike the standard VAT, this one isn’t heated.
Pricing and Availability
The Photon P1 is currently $599 at the time of me last updating this blog but check the Anycubic website for the most recent offers! Use code WJLVWFIE for $15 off!
Final Verdict: Was I Wrong About Resin Printing?
After years of hearing that resin printing was hard, scary, and dangerous, I’ve discovered that most of those concerns were overblown. While I don’t see resin replacing FDM printing entirely, it has opened up a new world of project possibilities and quality levels that were previously out of reach.
Why the Photon P1 Stands Out
- Easy to use from day one, no steep learning curve
- Room to grow as your skills and projects advance
- Professional capabilities at a hobbyist-friendly price point
- True “buy once, cry once” investment
The Photon P1 let me focus on my projects immediately instead of troubleshooting hardware issues. That alone makes it worth considering for anyone curious about resin printing.
Watch the Full Review
Want to see the Photon P1 in action? I cover everything from unboxing to advanced resin testing in my detailed video review. You’ll see the print quality differences, watch the setup process, and get a real sense of what makes this printer special.
Stay tuned for more projects and tutorials with this machine. If you’re on the fence about resin printing, after doing the Anycubic Photon P1 review I think this might be the printer that finally converts you. And for more on 3D printing check out blogs here!