
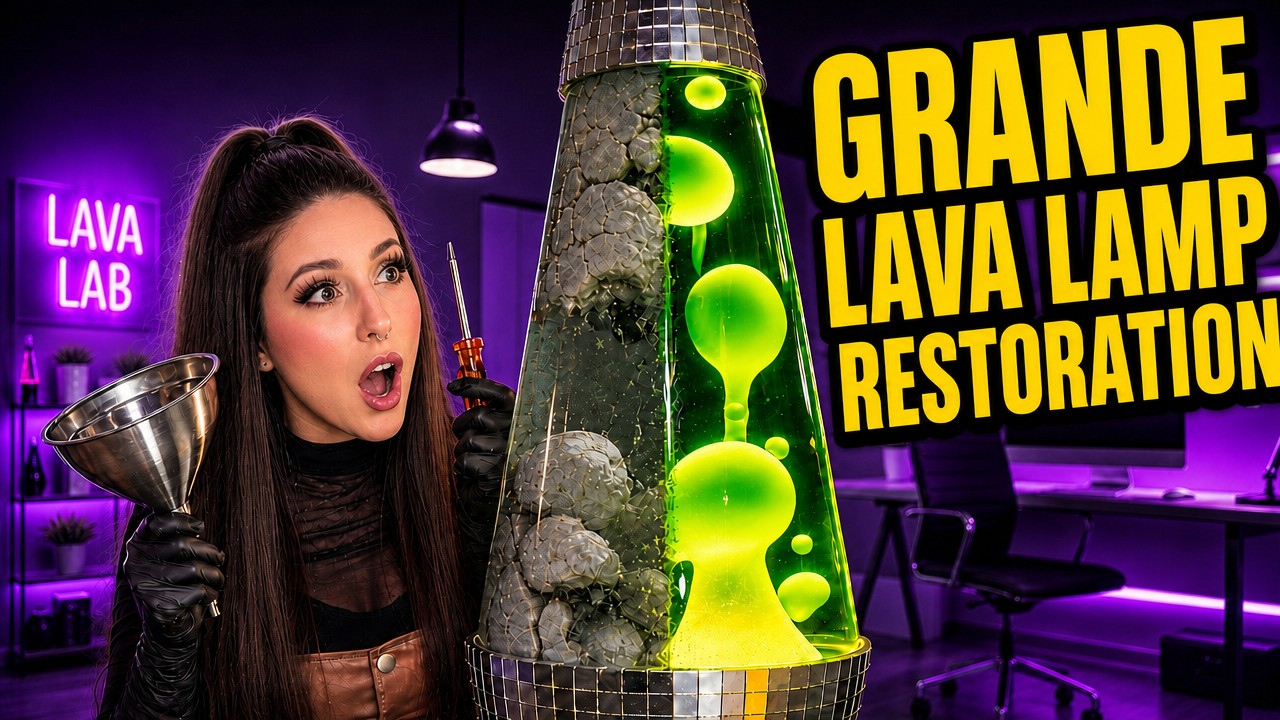
There are few things cooler than a giant Grande lava lamp.
They’re huge. They’re weirdly calming. They make your room feel like a retro sci-fi movie set. And unfortunately… a LOT of them eventually end up cloudy, broken, separated, or flowing like absolute garbage.
So if you recently dragged a sad Grande lava lamp home from Facebook Marketplace, inherited one from somebody’s basement, or just want to bring your old lamp back to life, welcome to the chaos and welcome to How To Restore a Grande Lava Lamp (Complete Guide)
This guide walks through the full Grande lava lamp restoration process including:
- Opening the lamp
- Replacing the wax
- Cleaning cloudy fluid
- Adjusting lava flow
- Fixing common mistakes
- Resealing the cap
- And getting that perfect smooth “snake” movement everyone wants
And HUGE shoutout to Lava Lab Creations for sponsoring the project and basically keeping the lava lamp restoration community alive.
💸 Use code MISFIT10 for 10% OFF your order!
Why Grande Lava Lamps Are Different
One thing I didn’t realize when I first got into lava lamp restoration is that Grande lamps are NOT just oversized normal lamps.
They use:
- Different wax blends
- Different surfactant ratios
- Different flow behavior
So if you try using random DIY recipes from Reddit or TikTok… there’s a pretty good chance you’re going to end up with:
- Cloudy water
- Wax stuck to the glass or worse wont move at all
- Tiny sad blobs or one massive blob
- Or a lamp that looks possessed
Ask me how I know 😅
That’s why I highly recommend starting with the proper Grande restoration kit from Lava Lab Creations instead of trying to piece everything together separately.
Supplies You’ll Need
From Lava Lab Creations
- Grande restoration wax kit
- Wax dyes
- Surfactant
- Magic Surf
- Globe cleaner
- Replacement parts (if needed)
- Heat shrink (optional but nice to have)
- Funnel + pipette
Additional Tools
You’ll also want:
- Large pot
- Heat resistant gloves
- Flathead screwdriver
- Utility knife
- Long bottle brush (the bigger the better)
- Measuring cup (ideally 1000 ml)
- Distilled water
- 1/2 inch tubing
- Potholder or towel
- Optional jewelry hammer
One of my biggest recommendations: USE DISTILLED WATER.
Seriously. Grande lamps are huge and impurities become super obvious. You can pickup gallons at the grocery store for about $1 each (you will need 2.)
Step 1: Open the Grande Lava Lamp
First things first:
UNPLUG THE LAMP AND LET IT COOL COMPLETELY
To remove the cap:
- Use a utility knife or screwdriver to start lifting the crimped edge(be careful dont slip and cut yourself)
- Slowly work around the cap
- Lift little by little instead of forcing it
This is one of those “slow is smooth, smooth is fast” situations. The glass is strong, but you absolutely can crack it if you get too aggressive.
Also:
Do NOT use pliers unless you want your cap to look like it went through a paper shredder.
Step 2: Remove the Fluid & Melt the Wax
Once opened:
- Pour out the old fluid
- Remove the springs/coils
- Save the liquid if you want for future experiments (10/10 would recommend)
Now here’s the important part:
DO NOT put the globe back on the lamp base to melt the wax! That can cause thermal shock and crack the globe. Instead:
- Place the globe in a large pot
- Fill with water
- Slowly heat it until the wax melts
Grande lamps take FOREVER to heat up, so be patient.
Step 3: Clean the Globe
This is officially the worst part of the project.
Cleaning old wax residue out of a Grande globe is:
- annoying
- messy
- repetitive
- somehow emotionally exhausting
You’ll probably need multiple cleaning passes using:
- Globe cleaner
- Hot water
- A bottle brush
Pro tip:
Always place the hot globe on a towel or potholder. Cold countertops + hot glass = very bad time.
Step 4: Prepare Your New Wax
Once the globe is clean:
- Melt the replacement wax in hot water in the container it comes in WITH THE CAP OFF! For Grande lamps you can use the full bottle!
- Add your dye colors
- Mix thoroughly
DO NOT microwave the wax. Apparently it can separate and ruin the blend.
For my lamp, I mixed yellow + blue dye to make a bright toxic-looking green.
Step 5: Coat the Globe With Surfactant
Before adding the wax back:
Coat the inside of the globe with surfactant and some distilled water.
This helps prevent wax from sticking to the glass later.
And yes…
I actually messed this part up in my restoration and accidentally caused cloudy fluid later.
Which honestly ended up being helpful because now I can show people how to fix that too 😂
Step 6: Add the Wax
Using:
- A funnel
- 1/2 inch tubing
Slowly add the wax back into the globe.
The tubing helps guide the wax to the bottom cleanly instead of splattering everywhere. However if you dont have tubing dont worry its not the end of the world.
Then:
- Reinstall the springs
- Heat the globe again to remove air bubbles. (this feels like you could skip this step… but trust me its worth doing)
After that:
LET IT COOL COMPLETELY. This will take hours… be patient.
Do not add water while the wax is still liquid or you will ruin your wax, have to start over and probably have a bad time.
Step 7: Add Distilled Water
Once fully cooled:
Add distilled water carefully.
Do NOT overfill the lamp. I overfilled mine slightly and almost created a glowing green volcano…
As the lamp heats:
the fluid expands.
Leave a few inches at the top for this expansion.
Step 8: Adjust the Lava Flow
This is honestly the coolest part.
Using surfactant:
you can literally tune the behavior of the lava.
For Grande lamps:
- Add surfactant slowly
- Wait about 30 minutes between adjustments
- Typical max range is around 55–60ml
Too little surf:
one giant blob.
Too much:
chaos soup.
This part takes patience, but it’s SUPER satisfying once you dial it in.
Step 9: Add Magic Surf (Optional)
If you want that classic flowing “snake” lava motion:
this is where Magic Surf comes in.
Only add this AFTER you already like your lamp’s movement.
For Grandes:
you only need about 2–4ml.
This is basically the finishing touch.
Step 10: Fix Cloudy Lava Lamp Fluid
If your lamp looks cloudy:
don’t panic.
Mine did too.
To fix it:
- Dump the liquid into a container
- Run it through a Lifestraw filter setup
- Refill the lamp
It takes forever…
but the difference is MASSIVE.
Crystal clear fluid completely changes how the lamp looks.
Step 11: Reseal the Lamp
Once you’re happy with the flow:
it’s time to reseal everything.
You can:
- Reinstall the stopper
- Crimp the cap back down
- Use heat shrink for a tighter seal
The heat shrink step honestly makes a huge difference especially if you will be moving the lamp often.
Final Thoughts
Restoring a Grande lava lamp is:
- messy
- time consuming
- occasionally frustrating
…but also incredibly satisfying.
There’s something really cool about taking a giant broken retro object and bringing it fully back to life.
And once it’s running perfectly?
Absolutely worth it.
If you’re planning your own restoration:
I HIGHLY recommend getting the proper Grande supplies instead of trying random DIY chemical recipes online.
🛒 Check out Lava Lab Creations
💸 Use code MISFIT10 for 10% OFF
Watch the full video here:
Have more lava lamp questions, want to request a lava lamp project or just want to say hi? Reach out here! Or check out more posts below!